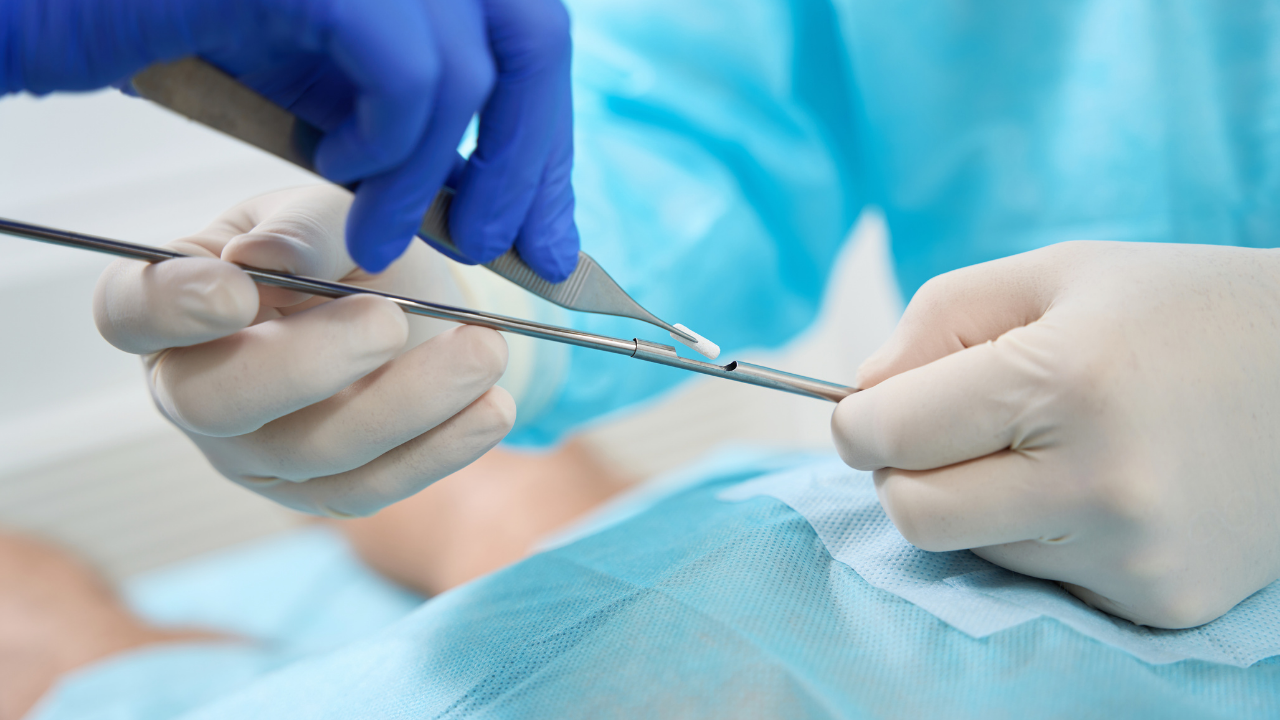
Pellet therapy outcomes are determined by two variables - dosing accuracy and insertion technique. Dosing accuracy is addressed separately. This article addresses technique. Providers who dose correctly but insert poorly generate complications that undermine patient satisfaction, create unnecessary callbacks, and expose the practice to liability that meticulous technique would have prevented. Understanding and consistently applying sound procedural technique is as important to pellet therapy outcomes as any other clinical skill in the hormone optimization toolkit.
SETTING UP FOR SUCCESS: THE STERILE FIELD
Pellet insertion is a minor subcutaneous procedure - but it involves implanting a foreign body that will remain in the tissue for three to five months. The infection risk associated with pellet insertion is low when technique is meticulous and rises predictably when sterile field management becomes inconsistent or casual over time.
The following sterile technique standards should be maintained for every insertion regardless of how routine the procedure feels after the hundredth case.
Hand hygiene and gloves. Surgical hand washing followed by sterile gloves is the standard for pellet insertion. Procedure gloves without surgical preparation are not equivalent. Providers who have transitioned to procedure gloves for efficiency are accepting a higher infection risk than sterile technique requires.
Skin preparation. The insertion site should be prepared with chlorhexidine gluconate solution - not povidone iodine alone, which has inferior residual antimicrobial activity. Allow the prep solution to fully dry before proceeding. A minimum contact time of 30 seconds is recommended for chlorhexidine. The prepared area should extend well beyond the planned incision site to provide an adequate sterile field.
Sterile draping. A fenestrated sterile drape over the prepared site maintains the sterile field during the procedure and reduces the risk of contamination from the surrounding non-sterile skin surface. In a busy practice where draping may feel like an extra step, it is worth noting that a single infected pellet site generates far more practice disruption - and patient distress - than the time draping adds to each procedure.
Pellet handling. Pellets should remain in their sterile packaging until the moment of insertion. The pellet should be transferred directly from its packaging to the trocar without contact with non-sterile surfaces. Providers who open pellet packaging in advance and allow pellets to sit on the sterile field for extended periods before insertion are introducing unnecessary contamination risk.
ANATOMICAL SITE SELECTION AND PATIENT POSITIONING
The upper outer buttock - specifically the area overlying the superior gluteal fat pad - is the standard insertion site for pellet therapy in both male and female patients. This site provides adequate subcutaneous fat depth for pellet placement, is not subject to significant mechanical stress during normal activity, and is easily accessible with the patient in the prone or lateral decubitus position.
Site selection within this general area should account for the following considerations.
Fat pad depth. The pellet must be placed within the subcutaneous fat layer - not in the dermis and not in the muscle. Insertion that is too superficial places the pellet in the dermis where it is palpable, uncomfortable, and at high risk for extrusion. Insertion into the gluteal muscle is both more painful and associated with altered hormone release kinetics. Palpating the fat pad depth before marking the insertion site allows for appropriate trocar angle selection.
Distance from the incision. The pellet should be placed at least two to three centimeters from the incision site along the trocar tract. Pellets placed too close to the incision are at significantly higher risk for extrusion through the incision as the tissue heals and the wound contracts. This is one of the most common and most preventable causes of pellet extrusion.
Avoiding prior insertion sites. In patients who have received multiple insertion cycles, avoiding the exact same insertion site repeatedly reduces the risk of scar tissue accumulation that can affect hormone release kinetics and increase procedural difficulty over time. Alternating sides or slightly varying the position within the same general area achieves this without requiring a different anatomical site.
LOCAL ANESTHESIA: TECHNIQUE MATTERS
Patient comfort during pellet insertion is largely determined by the quality of local anesthesia delivery. Providers who rush the anesthesia step or use inadequate volumes consistently generate more patient discomfort than those who take the time to anesthetize the full procedural field adequately.
Lidocaine one percent with epinephrine is the standard local anesthetic for pellet insertion. The epinephrine component reduces bleeding at the insertion site - a meaningful benefit in a procedure where post-procedural bruising is the most common patient complaint. Allow a minimum of three to five minutes after injection before making the incision - insufficient wait time is a frequent cause of inadequate anesthesia despite adequate dose.
The anesthesia should be placed in three layers - intradermal to anesthetize the incision site, subcutaneous along the planned trocar tract, and at the intended pellet deposition site. A common technique error is to anesthetize only the skin surface, leaving the deeper tissue along the trocar tract inadequately blocked.
TROCAR TECHNIQUE: PLACEMENT, ANGLE, AND DEPTH
The trocar is the instrument used to create the subcutaneous tunnel through which the pellet is delivered to its final position. Trocar technique is the most technically demanding element of pellet insertion and the area where procedural errors most commonly occur.
Incision. The incision should be just large enough to accommodate the trocar - typically 3 to 5 mm. A larger incision increases the risk of pellet extrusion and leaves a more visible scar. The incision should be made with a number 11 scalpel blade in a single clean motion to minimize tissue trauma.
Trocar angle and direction. The trocar should be introduced through the incision at an angle of approximately 30 to 45 degrees relative to the skin surface, then gradually flattened to a more horizontal angle as it advances into the subcutaneous fat. This technique keeps the trocar tip in the fat layer rather than tracking superficially toward the dermis or deeply toward the muscle fascia. The trocar should be advanced with steady, smooth pressure - not jabbing or rotational motion - to minimize tissue trauma along the tract.
Confirming depth. Before deploying the pellet, confirm that the trocar tip is at the appropriate depth by gently palpating the skin over the trocar tip. The tip should be palpable but not visible - if it is tenting the skin, the placement is too superficial and the trocar should be redirected.
Pellet deployment. Once the trocar is correctly positioned, the pellet is loaded into the trocar hub and deployed by advancing the obturator while withdrawing the trocar. The pellet should remain stationary in the tissue as the trocar is withdrawn - if the pellet moves with the trocar during withdrawal, it has not been adequately deployed and may be too close to the incision.
INCISION CLOSURE AND BLEEDING MANAGEMENT
Incision closure after pellet insertion should achieve three goals - closing the skin surface, collapsing the trocar tract to prevent pellet migration toward the incision, and minimizing the appearance of the scar.
Closure technique. Steri-strips or wound closure strips applied perpendicular to the incision are the most commonly used closure method for pellet insertion incisions and are effective when applied correctly to dry skin. Sutures are not typically required for the standard 3 to 5 mm incision. Some providers use a single absorbable subcutaneous suture to close the tract before applying surface closure strips - this adds a layer of protection against extrusion and is worth considering in patients who are highly active or who have had extrusion in a prior cycle.
Managing bleeding. Minor bleeding at the insertion site is expected and is not a complication. Significant bleeding - defined as bleeding that does not respond to two to three minutes of firm pressure - should be managed with additional pressure and, if necessary, epinephrine injection at the bleeding site. Providers who use epinephrine-containing local anesthetic and allow adequate time before incision experience significantly less procedural bleeding than those who do not.
Bruising counseling. Post-procedural bruising is the most common patient complaint following pellet insertion and is entirely expected. Patients should be counseled before the procedure that bruising of varying degree is normal, may extend beyond the immediate insertion site, and typically resolves within one to two weeks. Patients who are not counseled on expected bruising and discover it at home frequently contact the office with concern - a brief pre-procedure conversation eliminates most of these callbacks.
POST-PROCEDURE INSTRUCTIONS THAT REDUCE CALLBACKS
The quality of post-procedure patient instructions directly affects callback volume. Patients who understand exactly what to expect and exactly what to do - and what not to do - in the days following insertion contact the office far less frequently than those who receive vague or incomplete guidance.
The following instruction points should be covered with every patient before they leave the procedure room.
Activity restrictions. No submersion in water - pools, hot tubs, baths - for five to seven days to allow the incision to heal and reduce infection risk. Strenuous lower body exercise - squats, lunges, running, cycling - should be avoided for three to five days to reduce the risk of pellet displacement or extrusion during the early healing period. Normal daily activity including walking is fine immediately after insertion.
Wound care. Keep the insertion site dry and covered with the wound closure strips for five to seven days. The strips will begin to peel at the edges as they dry - patients should not remove them manually but allow them to fall off naturally. If the strips fall off before five days, replace them with a fresh strip or a small adhesive bandage.
Expected symptoms. Mild soreness, tenderness, and bruising at the insertion site are normal for the first several days. Firmness or a small lump at the insertion site is normal and represents the pellet in position - patients should not be alarmed by this. The pellet will dissolve gradually over the insertion cycle and the firmness will resolve.
Warning signs that warrant a call to the office. Increasing redness, warmth, or swelling beyond the immediate insertion site. Purulent drainage from the incision. Fever. Visible protrusion of the pellet through or near the incision site. These are the signs of infection or extrusion that require clinical evaluation and should be distinguished clearly from the normal expected symptoms described above.
BOTTOM LINE
Pellet insertion technique is a learnable, improvable clinical skill. Providers who maintain rigorous sterile technique, place pellets at the correct depth and distance from the incision, manage local anesthesia adequately, and deliver thorough post-procedure instructions consistently produce better patient outcomes, fewer complications, and fewer callbacks than those who allow technique shortcuts to accumulate over time. In a procedure-based revenue stream like pellet therapy, where patient retention and word-of-mouth referrals are the foundation of practice growth, technique quality is directly linked to practice success.